Introduction
Taking a car apart for scrap can seem difficult, but it doesn’t have to be. If you have a clear plan, the right tools, and follow basic safety steps while removing usable parts, you will also be doing your part for the environment. This guide will lead you through the process, step by step. You will learn how to prepare the vehicle, remove components such as the battery, tires, engine, wiring, and safely handle fluids. The guide also offers tips on recycling materials safely. When you finish, you will feel comfortable breaking down a car and selling parts or scrap metal, which keeps it out of landfills. Let’s get started.
How to Dismantle a Car for Scrap: Step-By-Step Process
- Plan and Prepare
It is a good idea to first have a solid plan in place. Plan out what parts you are going to salvage and scrap. Write down every tool you’ll need—wrenches, screwdrivers, jack stands, gloves, eye protection—and containers for fluids. Find a safe location to perform the work with sufficient light and space around the car.
If you can, the surface you are working on should be stable, like hard, flat concrete. Use trays or tape under the car to catch spills or leaks. Have a bag for trash, small waste items like bolts, clips, etc. A good plan usually makes the work a lot smoother and quicker. - Disconnect the Battery and Electronics
The first thing to do is to take off the battery. That stops electrical sparks and avoids accidents. Take the wrench and loosen the negative connector first, then the positive. Remove the battery from its container and place it in a safe, dry place. Next, remove all the fuses from the fuse box and disconnect the wiring harnesses.
Label the wires or take pictures of them so that you know what goes where if you have to reuse the wires or other parts. Leaving electronics connected can cause shocks and damage equipment. By performing the battery and wiring part of the disassembly first, you can do the rest of the disassembly safely in an organized environment. - Drain All Fluids
An early fluid drain helps you keep your work clean and safe. Fluids include oil, coolant, brake fluid, power steering fluid, and fuel. Be sure to use gloves and eye protection. Put a drain pan under the drain plug and remove it carefully. Once drained, close the plug before moving to the next step. To drain coolant, open the radiator or drain valve and catch it in a container. Brake fluid and power steering fluid can be drained from the reservoir bottles or lines. Fuel requires a proper fuel can and, if needed, a pump for transfer. Keep each fluid in labeled and sealed containers for the recycling center or disposal. - Remove the Wheels and Brakes
Use a jack to lift the car and place jack stands to create enough room to access the wheels and brakes. Use a wrench to remove the lug nuts, and then take the wheels off. At that point, brakes and rotors are visible as brake components in this order: caliper, rotor, pads. Use a wrench to unbolt the caliper and hang it so that it is secure. Do not hang it by the brake hose. You can also slide off the pads and rotor.
Just remember that brake pads and rotors often have scrap value, or may be reused in other vehicles. I suggest labeling the wheels and these parts so you know the origin of each piece. If you do decide to reuse or sell the tires or brake parts, it will be easier to track what came from which side of the car. - Take Out the Suspension and Steering
Directly below the wheels are the suspension and steering bits. Now, remove the control arms, shock absorbers, struts, and tie rods. These usually bolt to the frame and wheel hub. If you run into tight bolts, generally use penetrating oil. A breaker bar would help with the stubborn ones. Wear gloves to protect your hands from sharp edges.
Once removed, set each part aside in a safe place. Suspension parts are heavier than expected but often hold resale or scrap value. You can sell them as used parts or bring them into a auto wreckers Toronto. Clean or mark them for potential added value. - Remove the Exhaust System
The exhaust system runs from the engine underneath the vehicle to the rear. It will consist of the manifold, pipes, catalytic converter, muffler, and tailpipe. Unbolt any parts starting at the rear. Take care when undoing bolts because they may be rusted. Apply penetrating oil and use a breaker bar or saw if needed.
The catalytic converter contains precious metals. Try to keep it intact until you can sell it separately. The pipe and muffler sections are also worth selling to a scrap metal place. It would be best to keep all the parts organized, taking note of where they came from. - Dismantle the Engine and Transmission
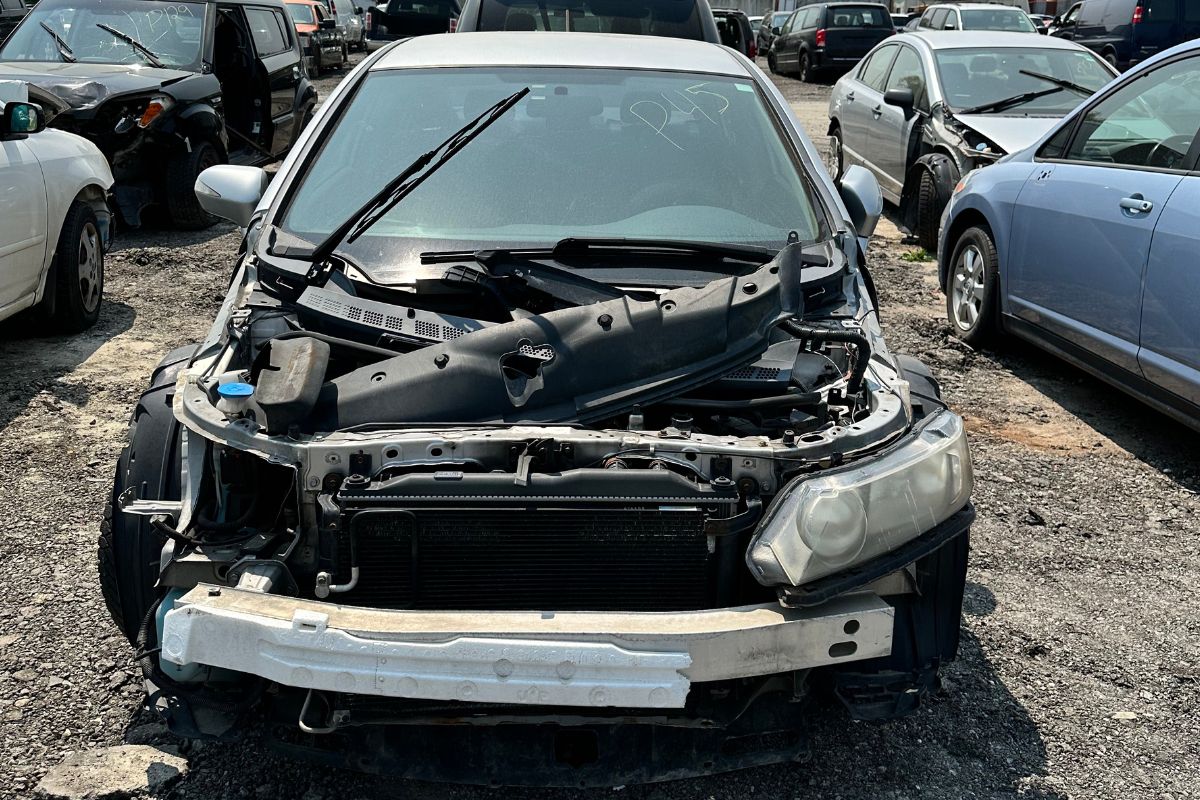
Removing the engine and transmission is a significant step. Use an engine hoist or crane. Before removing the engine, unbolt all engine accessories—alternator, power steering pump, air-conditioner compressor, belts, and hoses. Also, disconnect wiring harnesses, fuel lines, and coolant hoses, labelling them if needed. Next, unbolt the engine from the transmission and the frame mounts.
After all the above is done, attach the hoist to the engine lifting points, rest the cradle against the front lifting hooks, and lift the engine, taking your time. Place the engine on an engine stand or another solid surface. You can remove the transmission in the same way, or keep both for scrap or used parts. Both are worth good money. Do not forget to either empty any fluids in them or put a catch pan under them before storing them. - Strip Interior and Other Parts
Now that you’ve stripped out all the large parts, let’s focus on the interior. Remove the seats, dashboard, center console, carpet, door panels, lights, mirrors, and any plastic covering. Recline the seats, unbolt the seats, and pull them out. Unscrew the trim pieces and panels. Remove the wiring and switches in the dashboard and doors. Pull out cup holders and vents.
These types of parts may have reusable parts, including electric switches, airbags, and motors. In addition to collecting these inside parts, you’ll also be collecting screws and clips. It would be a good idea to keep your screws and clips in labelled containers. It keeps the workspace clear of clutter and saves time for reselling or recycling your pieces. - Deal with Frame, Glass, and Body Panels
After you have taken out the interiors, you will take off the larger body parts. Use a trim removal tool to remove windows and windshields, and wear safety glasses and gloves. Keep the glass pieces safe for recycling. Next, take off the fenders, doors, hood, trunk lid, bumpers, and other panels. Unbolt the hinges and supports.
Remember, paint-coated metal does not go in the scrap metal piles and may or may not be recyclable in a different manner. You can sell these panels if they are fairly decent, or appropriately recycle them. - Sort and Organize Scrap Materials
Once you disassemble, you will group by material. For example, steel, aluminum, copper, plastic, rubber, glass, and electronics. If you have time and labeled containers or boxes, separate each material. Keep hazardous items away from the rest of the stream. This will save you time on either sending it to a recycling center or a scrap yard. Remember, electronics and wiring will typically have copper wiring within them, so they do have value. Bulk scrap may include plastic and rubber, but could be redirected to the correct recycling streams. Organizing now will make the disposal process more beneficial and easier when the time comes.
Also Read: How Non-Metallic Car Parts Are Recycled and Repurposed for a Greener Future
Conclusion
Dismantling a car for scrap is a methodical task. Dismantling a car requires mechanical know-how, the right tools, and time, but it rewards you with valuable parts, scrap income, and environmental benefits. Prefer to skip the hassle? Greenway Auto Recycling, trusted auto wreckers Toronto drivers rely on, can handle the entire dismantling process for you.
We will help by removing your car and license plate quickly and easily. Our team will also take you through all the steps, answer any questions that you may have, and make sure that you fill out everything correctly. Greenway also handles the recycling and disposal of anything that cannot be reused. We are a 100% licensed business and follow all the local rules to keep the dismantling safe and legal.
